

19th September 2023
How to make a Composite Image
Khurrum presented his ideas and process for creating composite images.
The talk started with the question “What is Photo Manipulation and What is a Composite Image?”.
Khurrum highlighted that a JPEG file is already a manipulated image. The camera captures the detail and then the manufacturer’s software adds saturation, sharpness and contrast to the image, according to the rules laid out by its developers. Also that older, film images were manipulated in the darkroom; dodging and burning, use of masks, and many other techniques. Further that many product images are manipulated before the photo is even taken (spraying the product with water or covering in glycerin). Note: If you take an image and just retain the RAW file it will be flat and without depth. IT NEEDS TO BE MANIPULATED. The challenge becomes one of ethics and where the line is drawn.
A Composite Photo is “the combining of two or more images or photos to create a new one”, and so takes photo manipulation to a new level and a pure digital art form.
Khurrum showed a few examples from a few famous Composite photographers. Erik Almas (www.erikalmas.com), Eirk Johansson (www.erikjo.com), Joel Robison (www.joelrobison.com). Check them out for inspiration.
Khurrum also showed us how to find the horizon, to ensure we understood the perspective of an image, in order to ensure the subject matched the perspective of the image. For example: if the background is a view down, then the subject needs to be photographed from above (i.e. you are looking down on the subject and the background).
Before starting it was recommended to have a clear subject and idea. Draw out your plan on a piece of paper. Once you have added your subject to the background, you can add extras. When choosing images, ensure that they have the right characteristics (where is the image destined for? web or Print? Similar perspectives, lighting and colour temperature).
Khurrum then took us through a step by step example:
- A backgound image and an image of a subject.
- Cut out the subject
- Move the subject onto the background image, position and resize (these last two points maybe iterative, until you’re happy with the “look”).
- Match the colour tone of the subject to the background using a layer mask.
- Finally add extras to make a compelling scene.
During the second half of the presentation Khurrum went through a series of his own images, showing the number of layers created to make his composites. He noted that it is better to group edits to the different components of the image, as it is easier to keep control. A few of Khurrum’s final images are shown here (Click on an image to enlarge it).
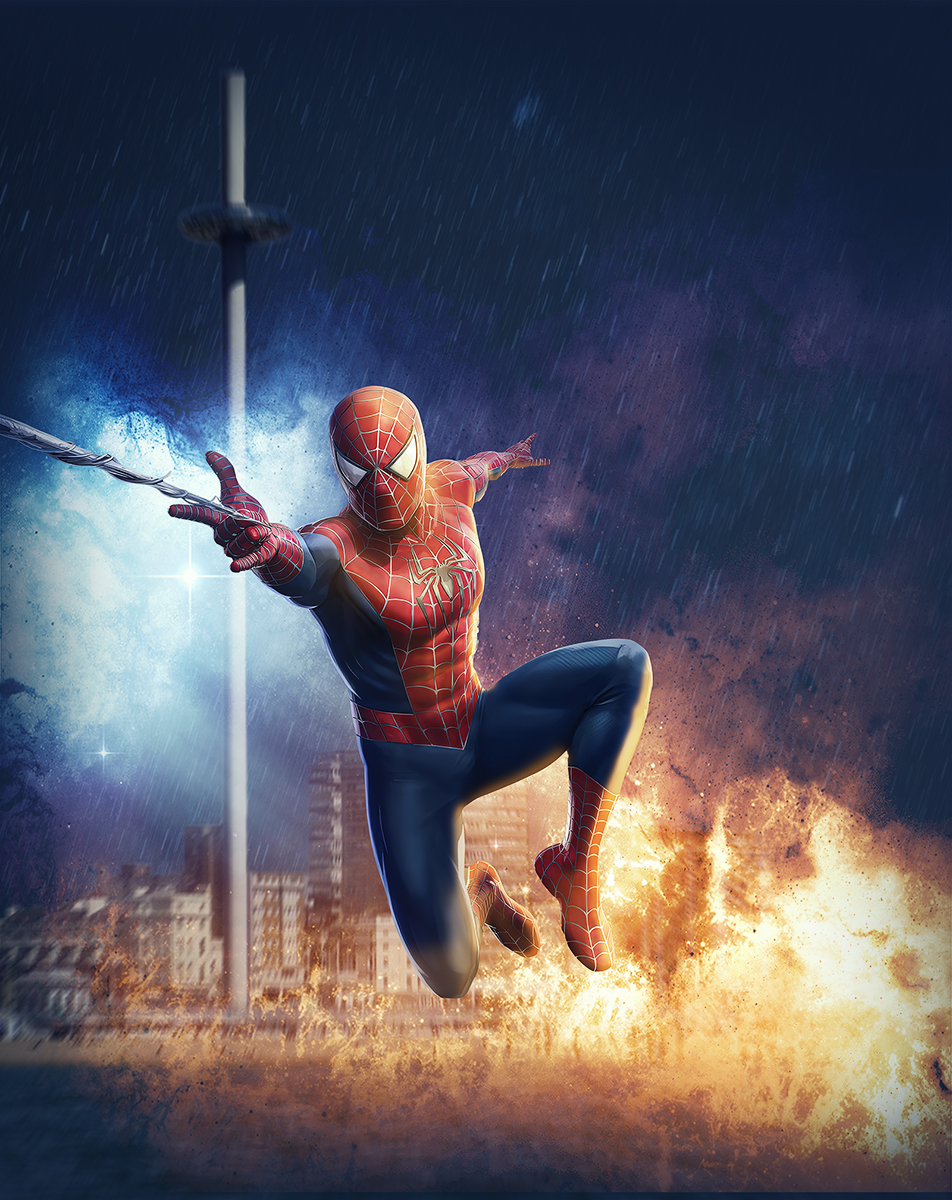
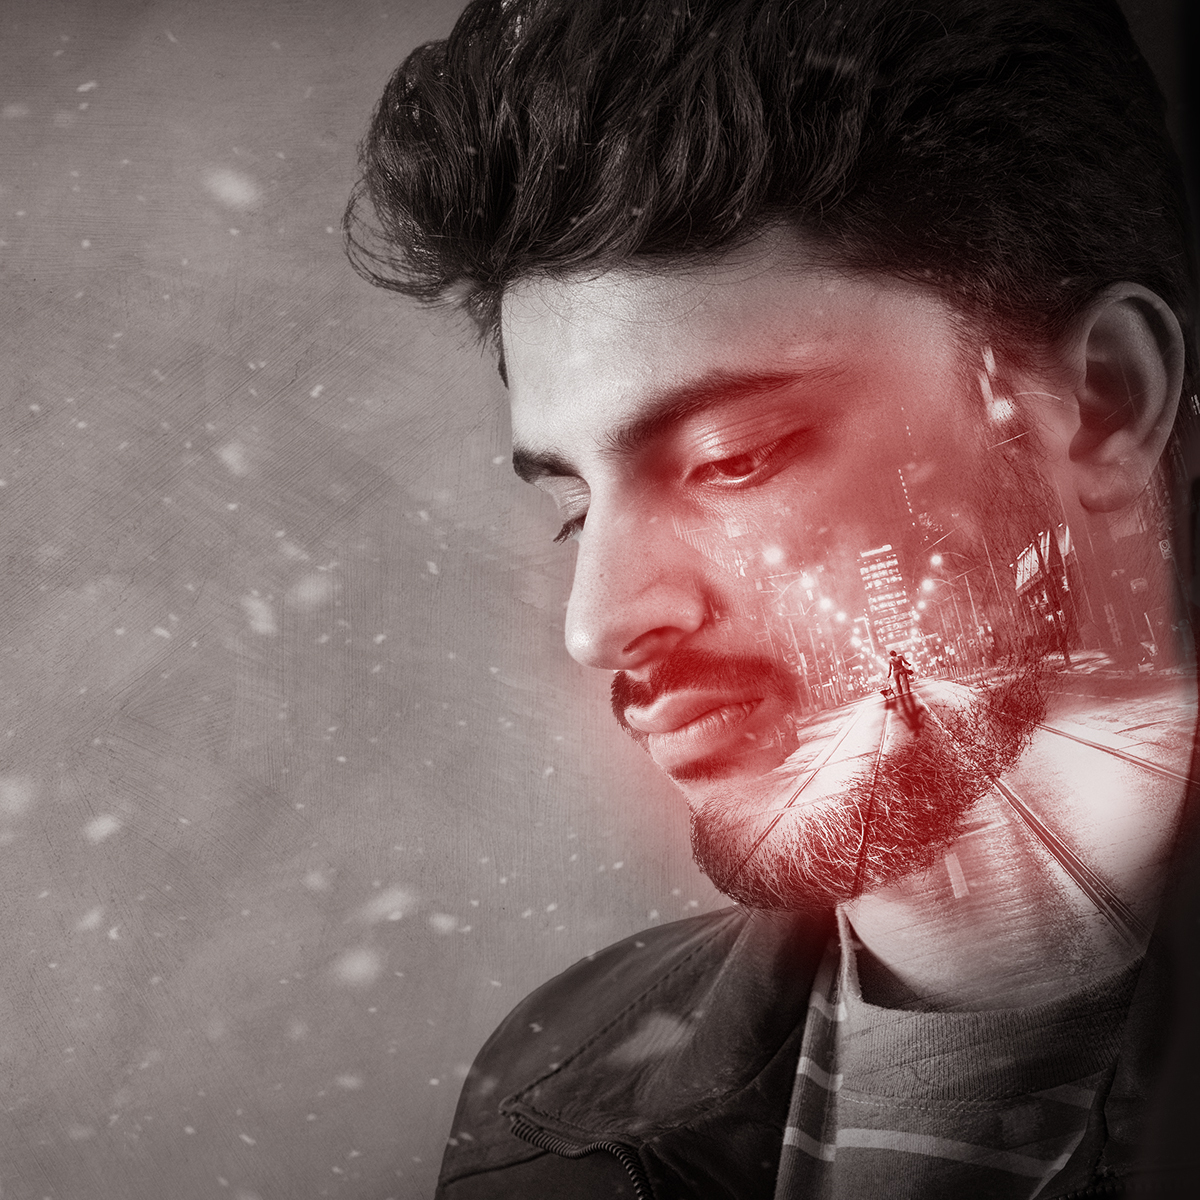
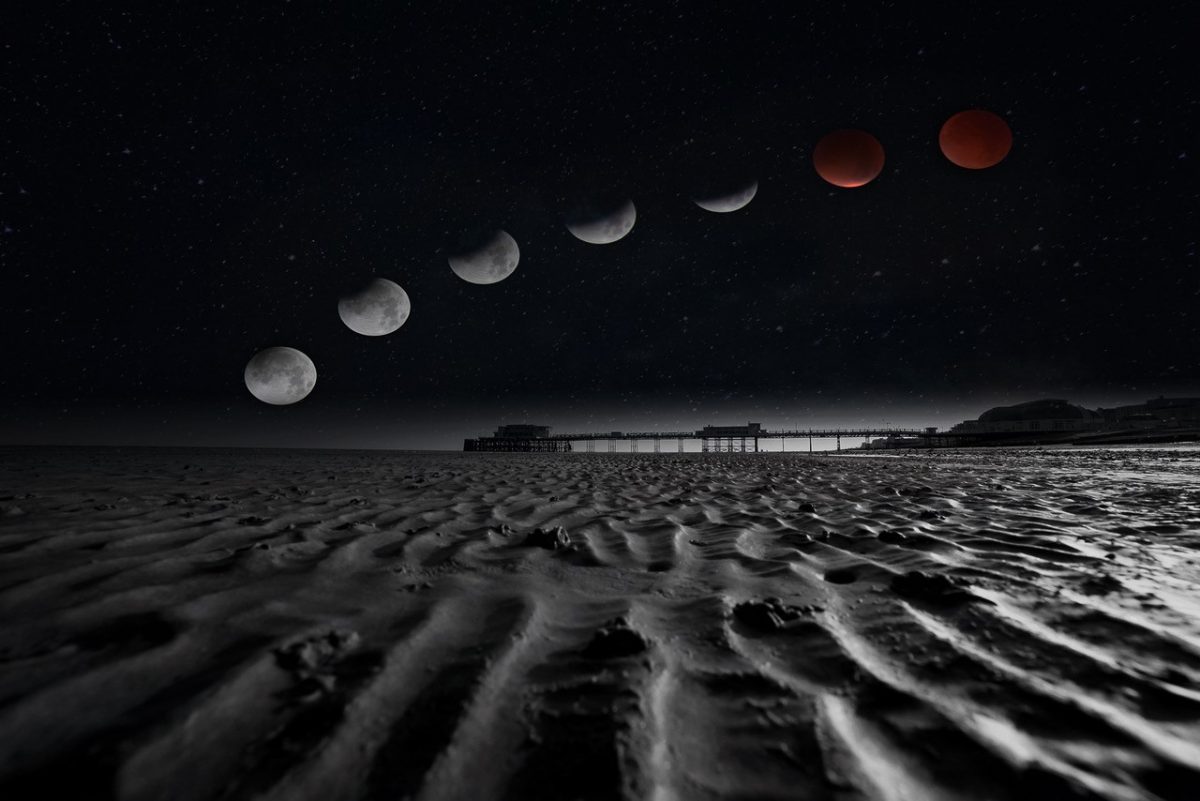
Don’t forget Khurrum’s helpful advice, you will get a chance to use it in our Christmas Card and “Make it your own” competitions.