


Tuesday 15 September 2026
RAW File Editing Workshop
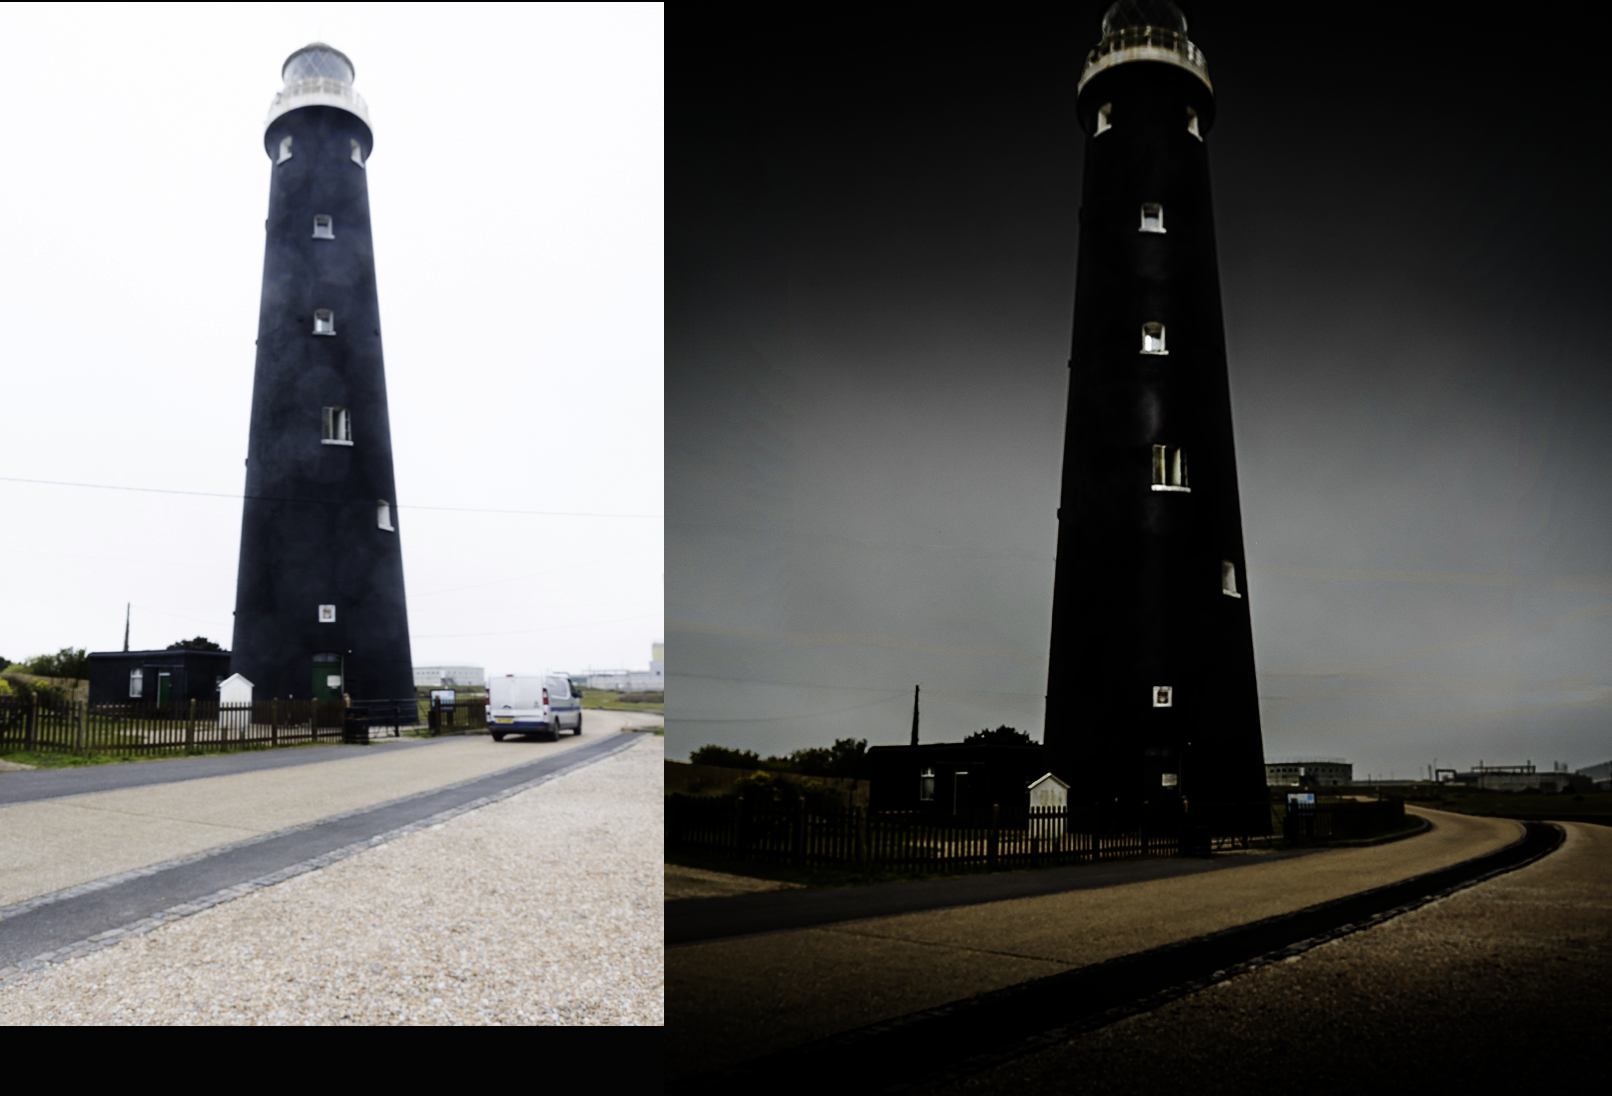
In this workshop Khurrum looked at the art and technique of editing RAW files, from the original camera capture through to the finished photograph. Although he used Lightroom to demonstrate the various techniques, the principles discussed were intended to be useful whatever RAW editing software you use.
We started by looking at why we edit photographs and the difference between what the camera records and what we actually see and remember. This led into the advantages of shooting RAW and how the extra information in a RAW file gives us much greater scope to adjust an image.
The workshop covered the essential building blocks of editing, including white balance, exposure, contrast, highlights, shadows, whites and blacks, as well as how to use the histogram to help judge an image. We then looked at creative controls such as Texture, Clarity and Dehaze, including when less can be more and how to avoid the pitfalls of over-processing.
From there, we explored more advanced techniques, including tone curves, selective colour adjustments, colour grading and local adjustments. The session also introduced modern masking and AI-assisted selection tools, showing how particular parts of an image can be adjusted without affecting everything else.
Finally, we looked at some of the important finishing touches, including sharpening, noise reduction, creative effects and when it may be useful to take an image into a more advanced pixel-editing application.
The overall message was that editing isn’t simply about “fixing” a photograph. It is about using the information captured in the RAW file to bring out what attracted you to take the photograph in the first place, and to develop your own creative interpretation of the scene.
A huge thank you to Khurrum for this overview to Post processing our images.
For those of you using Affinity or Snapseed click here for a cross-reference to where the Affinity and Snapseed tools are.